Shopping Cart
(0)

How to Remove a Bicycle Tire: Step-by-Step Guide
|
|
Time to read 3 min


|
|
Time to read 3 min
Knowing how to remove a bicycle tire might sound simple, but doing it wrong can damage the rim, the tire, or the inner tube. Whether you're fixing a flat or replacing a worn-out tire, this guide will walk you through the process safely and efficiently—with pro tips to make the job smoother.
A pair of plastic tire levers (never use metal tools)
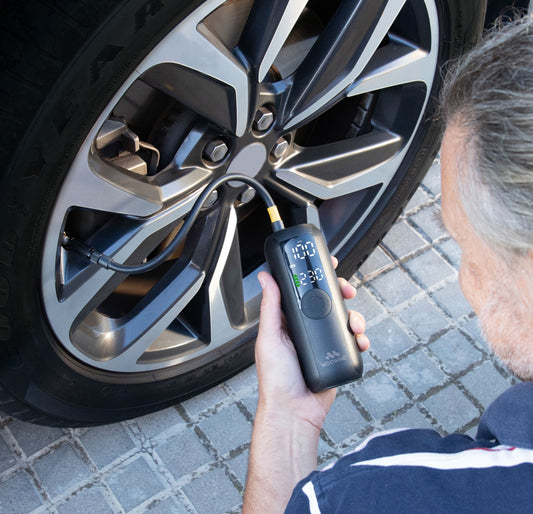
A floor pump or portable inflator
Bike stand or a stable surface
A clean workspace and a cloth to wipe the rim
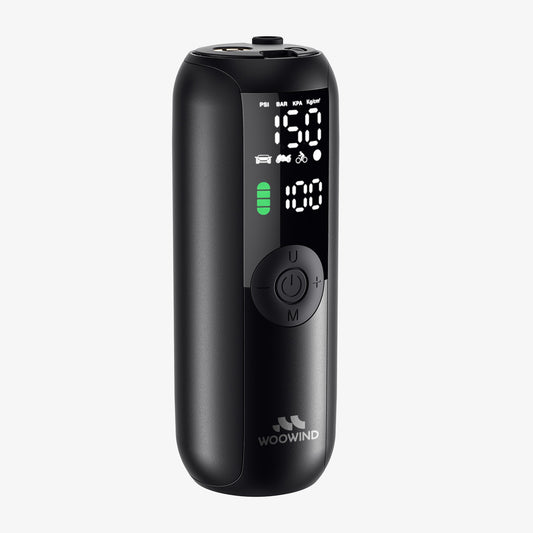
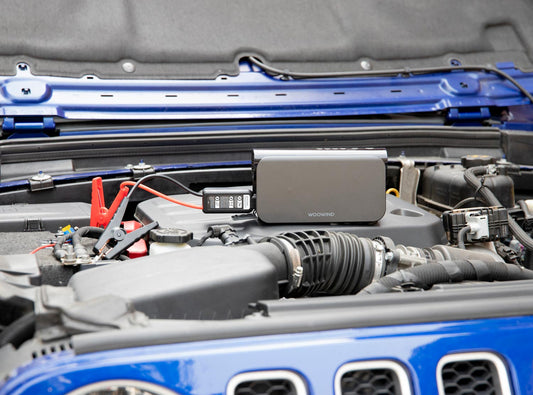
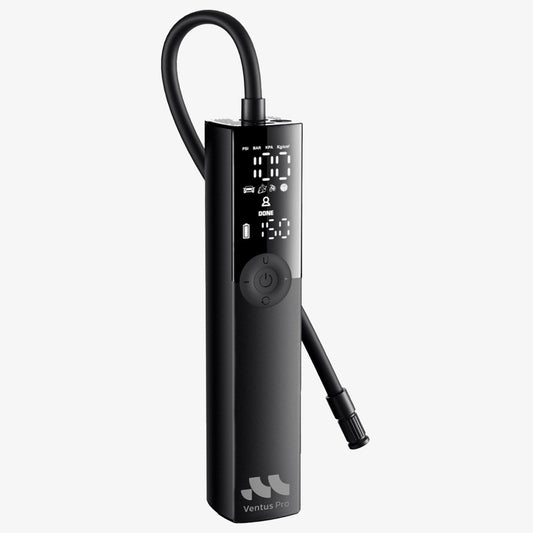
Place the bike upside down or on a repair stand. For tools that make the job easier, browse our bike air pump collection , including reliable options like the Woowind BP188 . Remove the wheel from the frame to make access easier.
Unscrew the valve cap and press down the core to release all air.
For Schrader valves: use your finger or a small tool.
For Presta valves: unscrew the brass tip and press down until all hissing stops.
Make sure the tire is completely flat before you proceed—residual air can make removal harder and damage the rim.
Start opposite the valve stem, where tension is lowest.
Insert one tire lever under the bead and hook it onto a spoke.
A few centimeters away, insert the second lever and work the bead off gradually, a few inches at a time.
Once one side is off, remove the inner tube carefully, starting at the valve.
Important: Avoid prying too hard—this can bend the rim or pinch the tube.
After the inner tube is out, pull the second bead off the rim by hand or with levers if it’s tight.
Now inspect the tire and rim:
Look inside the tire for glass shards, nails, or thorns.
Check the rim strip to make sure it’s not damaged or misaligned.
Wipe everything clean before reassembly. If you're unsure about tire pressure or choosing the right inflator, you can also explore more electric air pump options for your setup.
Using screwdrivers or metal tools: these can puncture the tube or gouge your rim.
Prying too close to the valve stem: always start away from the valve.
Skipping tire inspection: debris left inside can cause an immediate new puncture.
If the tire is tight, warm it up in the sun or use soapy water to soften the bead.
Before installing a new tube or patching the old one, make sure the valve is clean and straight. Need help with flat repair? Read our step-by-step on how to patch a bicycle tire .
With its compact design and digital display, it's perfect for both at-home repairs and road-side emergencies.
It’s highly recommended, as it gives you better access and control, making the process safer and more efficient.
Use plastic tire levers and work in small sections. Warming the tire or applying soapy water can also help.
Yes—if the tube isn’t damaged. Check carefully for punctures, especially near the valve stem.
The tire may be tightly seated or stiff. Leverage slowly with a tire lever or apply heat to soften the rubber.
Do a quick check before every ride and a full inspection during regular maintenance or after any flat.
Smart tire removal and inspection now means a safer ride later. Take your time, stay patient, and you’ll get the hang of it in no time!
Tim Huang
Tim Huang has extensive experience in the development and optimization of electric air pumps , specializing in portable tire inflators, electric air pumps, and wireless inflation solutions . With a strong background in product development, procurement, and quality assurance , he ensures that every Woowind product meets high performance and reliability standards. Connect with Tim on LinkedIn: Tim Huang

