Shopping Cart
(0)

How to Patch a Bicycle Tire: Quick Guide for Riders
|
|
Time to read 3 min


|
|
Time to read 3 min
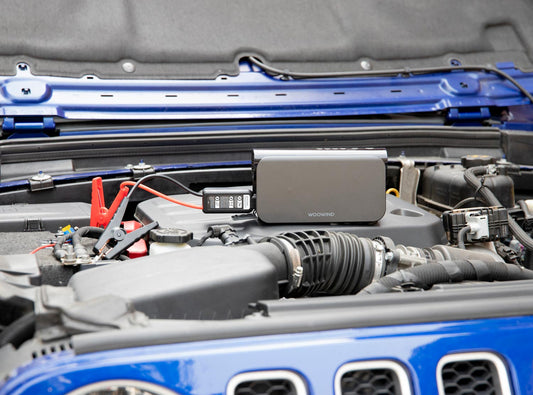
A flat tire doesn’t mean the end of your ride. Learning how to patch a bicycle tire is a simple skill that can save your commute or weekend adventure. With the right tools, a bit of technique, and a compact inflator like the Woowind BP188 , you can be back on the road in minutes. This guide walks you through the steps to identify, patch, and reinflate your inner tube—safely and efficiently.
Tire levers
Patch kit (with glue and rubber patches or self-adhesive)
Sandpaper or metal scuffer (usually included)
Clean cloth
High-precision portable pump like those in our bike air pumps collection
1. Remove the Tire and Tube
Shift gears to make wheel removal easier (rear wheel).
Use levers to carefully unseat the tire bead from the rim.
Gently pull out the inner tube, starting near the valve.
2. Find the Leak
Inflate the tube and listen or feel for escaping air.
Submerge in water and look for bubbles if needed.
Mark the puncture with a pen or chalk.
3. Prepare the Surface
For more on tire inflation and safety, check out our bike tire inflation guide .
Dry the area completely.
Lightly roughen around the hole using sandpaper.
Wipe off debris for strong patch adhesion.
4. Apply the Patch
For glue patches: apply a thin glue layer, let it dry for 60 seconds.
Press the patch firmly onto the hole and hold for 1 minute.
For self-adhesive patches: peel and stick, pressing evenly.
5. Reinstall and Inflate
Check the inside of the outer tire for sharp debris (glass, nails).
Insert the tube with the valve aligned straight in the rim hole.
Seat the tire bead carefully.
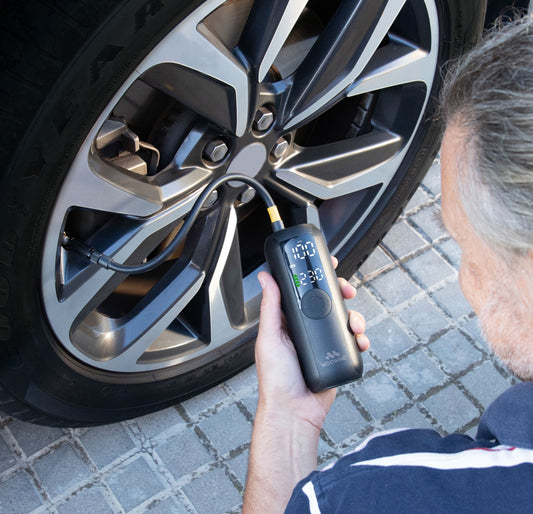
Inflate halfway to adjust the tube’s position, then fill to proper PSI using a compact inflator from our electric air pumps lineup .
Avoid folding or pinching the tube while reinstalling.
Don’t over-inflate; always follow the PSI range printed on the tire.
If using a backup patch method (rubber + glue), replace with a standard patch as soon as possible. For tubeless setups, see our tips on how to inflate tubeless bike tires .
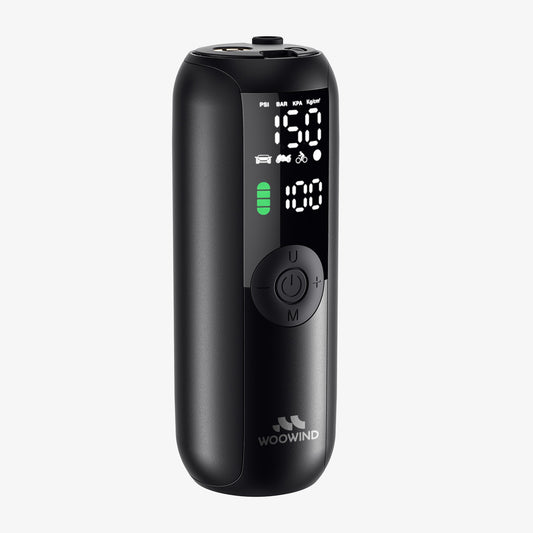
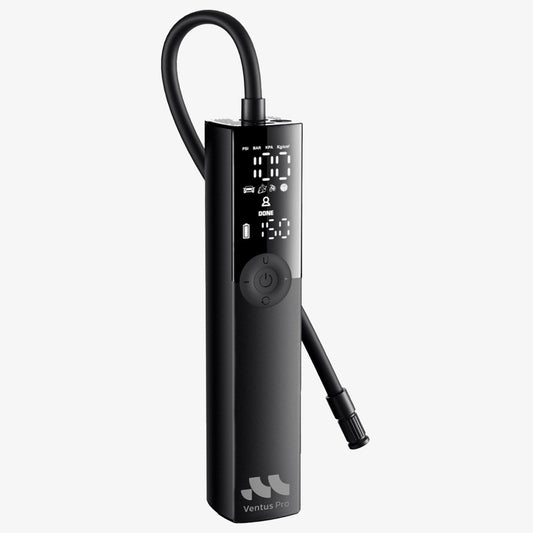
Once patched, it’s critical to inflate the tire to its recommended PSI to restore handling and comfort. The Woowind BP188 offers fast, accurate inflation with PSI control up to 120. Its portability makes it perfect for emergency repairs at home or on the road.
Spin the wheel to ensure the tire is seated evenly.
Press around the rim to check for lumps or uneven pressure.
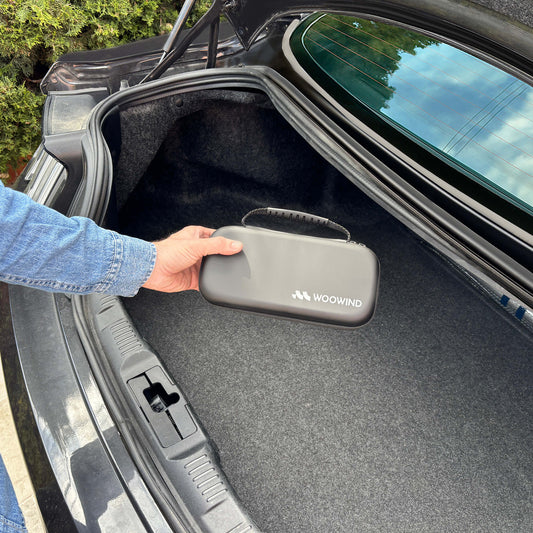
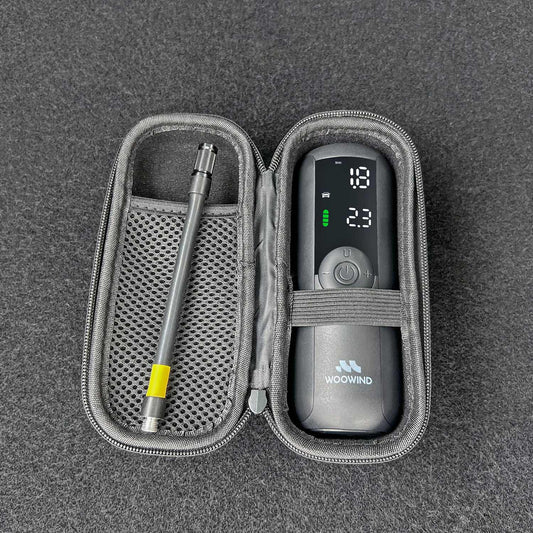
Always carry a mini patch kit and inflator for future flats.
If there are multiple punctures, sidewall tears, or severe aging, replacement is safer than patching.
Use rubber cement or vulcanizing glue designed specifically for bike patch kits. Household glue is not reliable.
Let the glue dry until tacky—typically around 1 minute—before applying the patch.
Inflate halfway first to check for pinches or folds, then fill to the recommended PSI printed on the tire sidewall.
Yes, for small holes and temporary fixes. For a more durable repair, use a traditional glued patch.
Don’t let a small puncture end your ride. With the right patch and the Woowind BP188 in your kit, you’re ready to roll anywhere.
Tim Huang
Tim Huang has extensive experience in the development and optimization of electric air pumps , specializing in portable tire inflators, electric air pumps, and wireless inflation solutions . With a strong background in product development, procurement, and quality assurance , he ensures that every Woowind product meets high performance and reliability standards. Connect with Tim on LinkedIn: Tim Huang

