Shopping Cart
(0)

How to Inflate Tubeless Bike Tires: A Complete Guide
|
|
Time to read 4 min


|
|
Time to read 4 min
Tubeless bike tires are a game-changer for cyclists, offering superior traction, fewer flats, and a smoother ride. But to get the most out of them, proper inflation is key. Whether you're tackling rugged trails or cruising on a long road ride, knowing how to inflate tubeless bike tires ensures performance, safety, and comfort.
In this guide, we’ll walk you through everything you need to know—from essential tools to step-by-step inflation techniques—so you can ride with total confidence.
Table of contents
Unlike traditional tube setups, tubeless tires form an airtight seal with the rim. This design offers multiple advantages:
Enhanced Grip & Control – Running lower PSI increases traction and stability on all terrains.
Fewer Flats, More Freedom – No inner tube means fewer pinch flats and greater resistance to punctures.
Smoother, More Comfortable Rides – Lower pressure absorbs vibrations, reducing fatigue on long rides.
Improved Efficiency – Optimized pressure reduces rolling resistance, helping you ride longer with less effort.
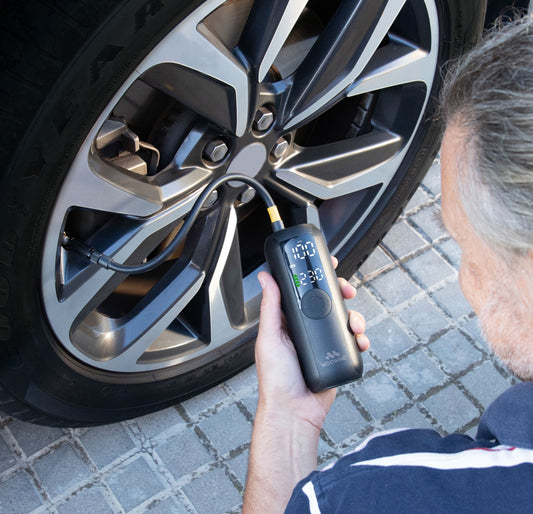
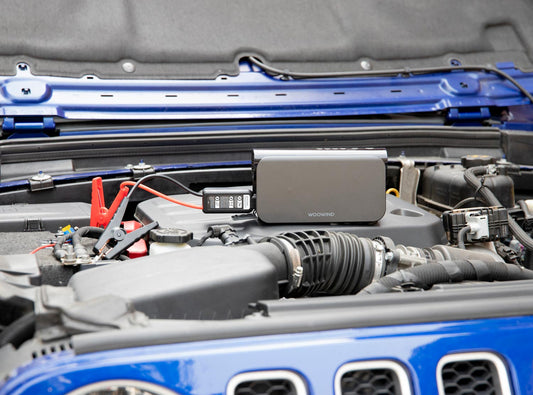
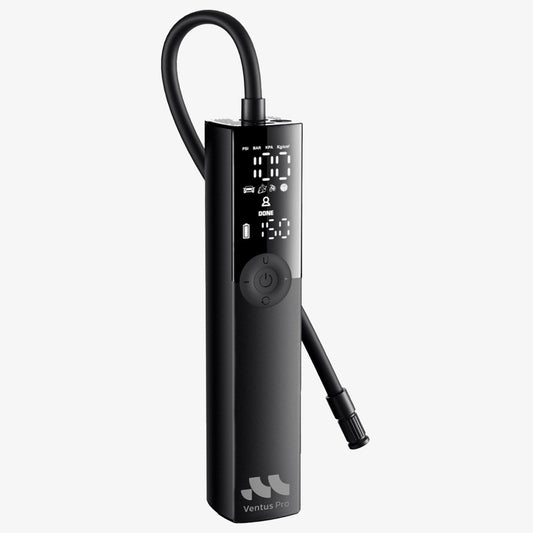
The right PSI isn’t just about comfort—it’s about getting the best possible ride. A portable electric air pump ensures precision inflation wherever you go, so you’re always prepared.
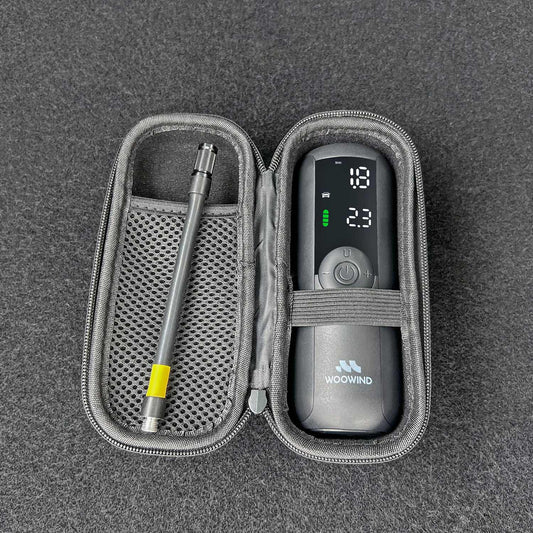
Setting up and maintaining tubeless tires is easy with the right tools:
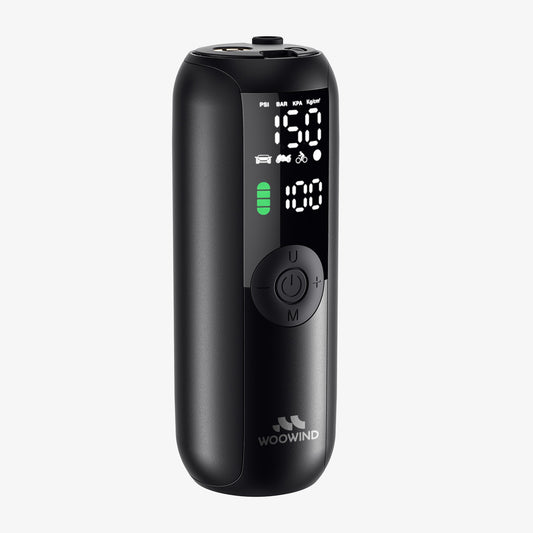
High-Quality Portable Air Pump – A digital pump provides accurate pressure control, crucial for tubeless setups.
Valve Core Remover – Helps maximize airflow when inflating and seating the tire.
Sealant – Seals small punctures and maintains an airtight fit.
Tire Lever (Optional) – Useful for reseating stubborn tire beads.
For riders exploring the great outdoors, outdoor air pumps offer the reliability needed for any adventure.
1. Prep the Valve & Sealant
Check that the valve is properly installed and free of old sealant.
Remove the valve core (if needed) to allow more airflow.
Shake the sealant inside the tire to ensure even distribution.
2. Inflate the Tire
For Presta valves, unscrew the lock nut before attaching the pump.
For Schrader valves, connect the pump directly.
Use a strong burst of air to seat the tire bead onto the rim. Digital pumps make this process more precise.
3. Check & Adjust Pressure
Road bikes: 80-130 PSI
Mountain bikes: 20-40 PSI
Use a digital display to confirm accuracy, then reinstall the valve core and check for leaks.
Spinning the wheel helps distribute the sealant evenly and reinforces the airtight seal.
A tubeless tire repair kit is a must-have for fixing punctures quickly while on the road or trail.
What’s Inside?
Plug Insertion Tool – Pushes the plug into the hole.
Reamer Tool – Prepares the puncture for sealing.
Rubber Cement (Optional) – Strengthens the seal.
Blade/Cutter – Trims excess plug material.
Storage Pouch – Keeps everything organized.
How to Use It:
Locate the puncture and inspect for damage.
Use the reamer tool to clean and widen the hole.
Insert a tire plug into the plug insertion tool.
Push the plug into the puncture and remove the tool, leaving part of the plug inside.
Trim excess plug material with a blade.
Inflate the tire and check for leaks.
With a solid repair kit and a bike air pump on hand, you can keep your ride going no matter what.
Overinflating – Excessive pressure can unseat the tire or cause an uncomfortable ride.
Skipping the Sealant Step – Without sealant, slow leaks will develop over time.
Ignoring Small Leaks – Always inspect the bead-to-rim seal after inflation.
Using an Inaccurate Pump – Guessing PSI can lead to underperformance or damage.
Not all pumps are created equal. Woowind’s portable air pumps deliver:
Fast & Powerful Inflation – Perfect for quickly seating tubeless tires.
Digital PSI Control – Get precise pressure adjustments for any terrain.
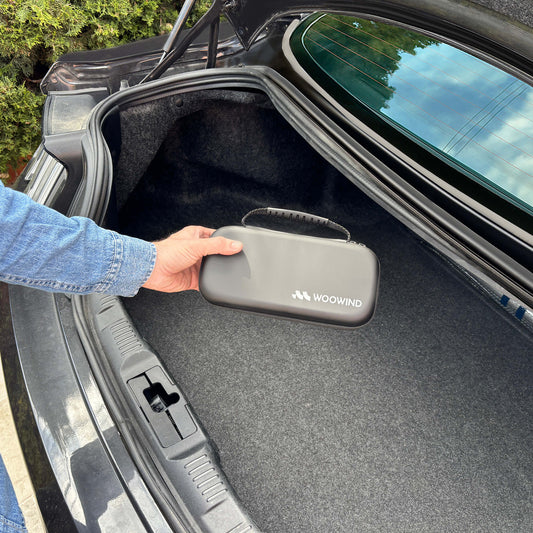
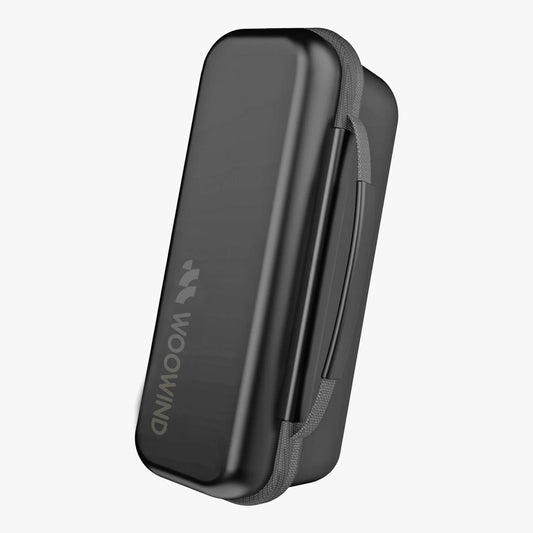
Compact, Travel-Ready Design – A must-have for long rides.
Versatile Use – Ideal for road bikes, mountain bikes, and even motorcycles.
With Woowind, you don’t need bulky shop equipment. Our portable pumps give you the freedom to adjust your pressure anytime, anywhere.
A properly inflated tubeless tire transforms your cycling experience—smoother rides, better handling, and fewer worries about flats. Whether you're climbing rugged trails or clocking miles on the road, the right PSI makes all the difference.
With a Woowind portable air pump, you get precision, convenience, and peace of mind—so you can focus on the ride, not on your tires.
Before every ride, as air loss happens over time.
Yes, but a high-pressure burst is ideal for seating the tire properly.
Check the bead, add sealant, and try a stronger burst of air.
Absolutely! A compact pump ensures you can adjust pressure anytime.
Tim Huang
Tim Huang has extensive experience in the development and optimization of electric air pumps , specializing in portable tire inflators, electric air pumps, and wireless inflation solutions . With a strong background in product development, procurement, and quality assurance , he ensures that every Woowind product meets high performance and reliability standards. Connect with Tim on LinkedIn: Tim Huang


