


Shopping Cart
(0)

How to Balance a Motorcycle Tire: Step-by-Step for Riders
|
|
Time to read 2 min
|
|
Time to read 2 min
Knowing how to balance a motorcycle tire can dramatically improve ride quality, extend tire life, and enhance safety—especially at higher speeds. Whether you ride daily or only on weekends, understanding both manual and machine-based balancing methods ensures your wheels spin smoother and wear evenly.
At speeds above 60 km/h, even a slight imbalance can cause:
Handlebar vibration
Uneven tread wear
Wheel bearing stress
Reduced riding stability
Balancing is essential when installing new tires, patching punctures, or noticing vibration at higher speeds. If you're replacing your tires, follow this guide on how to change a motorcycle tire for step-by-step support. It should be part of your routine every 8,000 km or after tire changes.
This method is most accurate and recommended for shops or riders with access to professional tools:
Mount the wheel on a dynamic balancing machine
Spin the wheel at controlled speed; the machine detects heavy/light points
Apply lead or zinc weights (5g–50g) to the correct location on the rim
Tolerance limits: ≤10g for road tires, ≤15g for off-road tires
Use rust-proof weights and recheck after road testing. For more gear, browse Woowind's motorbike air pump collection and explore the full range of electric air pumps for compact tools that fit any rider's needs.
Manual balancing is reliable and easy to do at home:
Lift the wheel using a static balancer stand or secure axle jack
Rotate slowly and observe the wheel's natural stopping point
Mark the bottom (heaviest point) and attach a temporary weight at the top (lightest point)
Test and adjust until the wheel stays balanced in any position
Tip: Use adhesive or clip-on weights and check alignment after riding.
Balance both front and rear wheels, even if only one was replaced
Replace or repair wheels that show over 2mm of deformation
Use high-quality weights (stainless steel or zinc alloy) to prevent rust
Don’t skip balancing after a puncture repair or tire rotation
Proper balancing extends tire life by over 20%, reduces rider fatigue, and keeps your ride smooth. Learn more in our buying guide to the best portable air compressors .
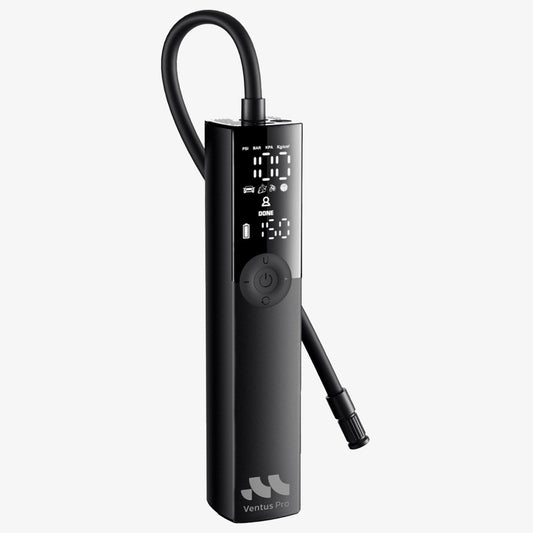
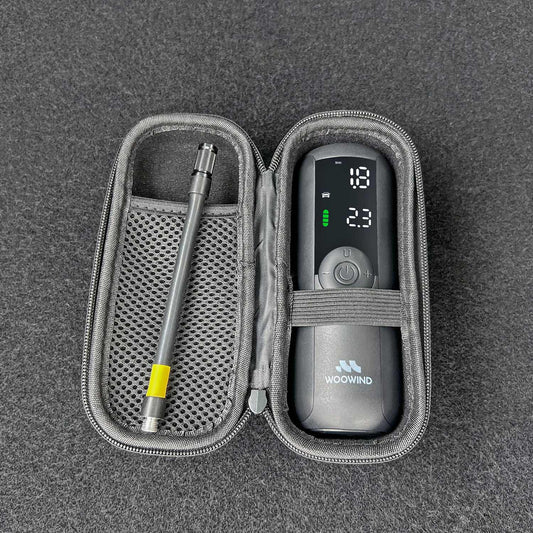
Once balanced, always inflate to the manufacturer-recommended PSI. Tools like the Woowind Ventus Pro offer:
Dual-screen PSI accuracy
High-volume airflow for quick inflation
USB-C & 12V car plug options
Built-in LED light for dark garages
Yes—especially at higher speeds. Imbalance leads to vibration and premature wear.
A static balancer stand or axle lift is strongly recommended, but you can improvise with care.
Every 8,000 km or when you change, rotate, or patch a tire.
Rust-proof weights like stainless steel or zinc alloy are ideal for durability.
Yes. Any added patch or plug can shift weight distribution—always re-balance.
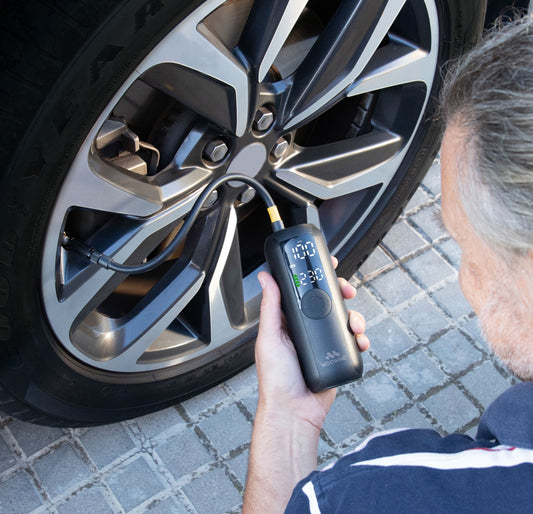
Check out tools like the Woowind Ventus Pro for efficient inflation, and explore the full range of electric air pumps earlier in this guide for more options.
Tim Huang
Tim Huang has extensive experience in the development and optimization of electric air pumps , specializing in portable tire inflators, electric air pumps, and wireless inflation solutions . With a strong background in product development, procurement, and quality assurance , he ensures that every Woowind product meets high performance and reliability standards. Connect with Tim on LinkedIn: Tim Huang

