
Shopping Cart
(0)

How to Change a Motorcycle Tire: Step-by-Step for Riders
|
|
Time to read 3 min


|
|
Time to read 3 min
Changing a motorcycle tire might sound intimidating, but learning how to change a motorcycle tire is a skill every rider can master with the right tools and a bit of patience. Using a motorbike air pump built for performance makes the job even easier. Whether you’re upgrading performance or replacing a worn-out tire, this guide will walk you through the entire process, from tire removal to final safety checks.
Table of contents
Tire irons (preferably nylon to avoid rim damage)
Bead breaker or C-clamp
Rim protectors (optional, but helpful)
Lubricant (soapy water or bead lube)
Valve core remover
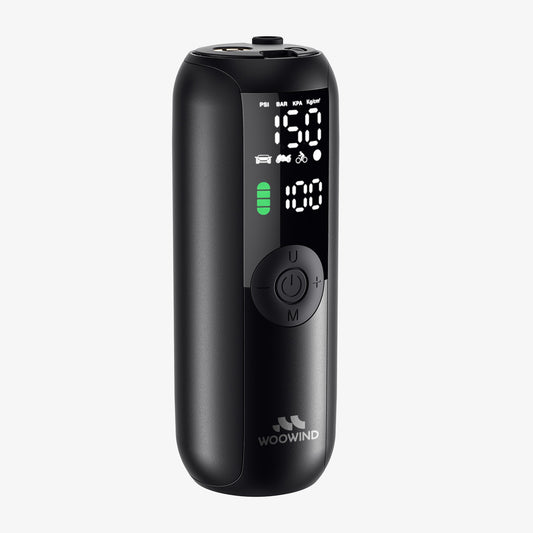
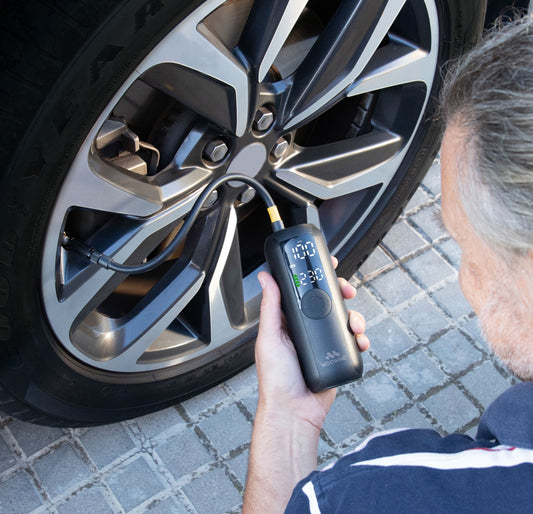
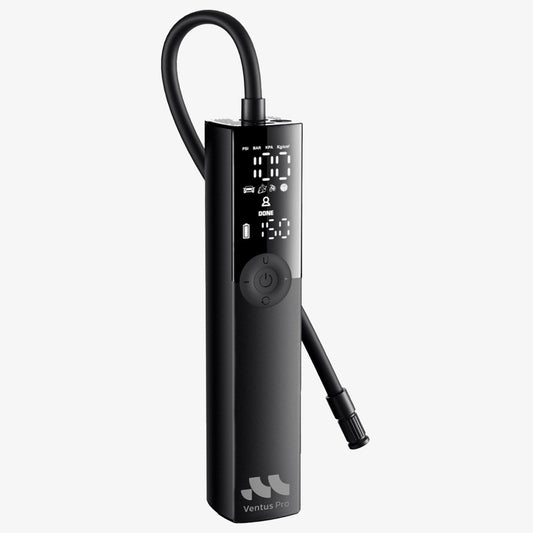
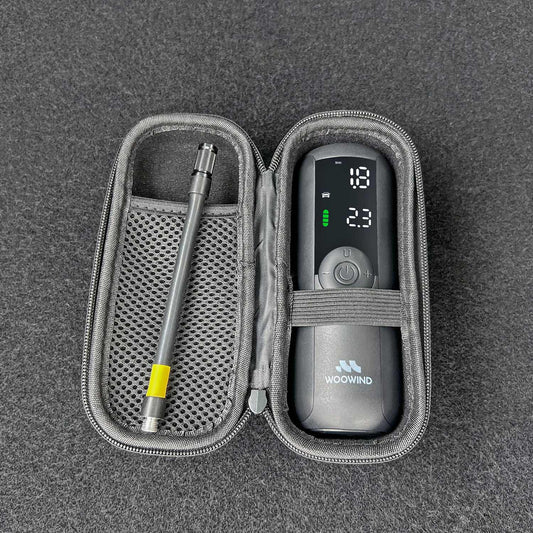
High-volume air pump or inflator (like the Woowind Ventus Pro )
Dynamic wheel balancer and weights
Safety gloves and tire sealant (optional for tubeless)
1. Remove the Wheel
Use a center stand or paddock stand to elevate the bike.
Loosen the axle nut and remove any spacers, brake calipers, or clips.
Slide the wheel free of the swingarm or fork.
2. Deflate and Break the Bead
Remove the valve core to release all air.
Use a bead breaker or C-clamp to compress and release the tire bead from the rim.
Repeat on both sides of the tire.
3. Remove the Old Tire
Apply lubricant around the tire bead.
Insert tire irons and gently pry one side of the tire over the rim.
Work around the wheel slowly to remove the entire tire.
4. Inspect and Clean the Rim
Remove debris, rust, or old rubber with a clean cloth.
Pay special attention to the bead seat area—smooth and clean surfaces reduce air leaks.
5. Install the New Tire
Lubricate both the tire bead and rim.
Fit one side of the tire onto the rim.
Insert the new or patched inner tube (if applicable).
Carefully work the second bead onto the rim using tire irons.
Watch the alignment and avoid damaging the tube or bead.
Tire Compatibility
Always match size exactly (e.g., 120/70 R17).
Don’t mix tire brands or types (e.g., sport front + touring rear).
Directional Tread Patterns
Follow the arrow on the sidewall.
“V” tread patterns should point forward.
Rim & Bead Cleaning
Prevent air leaks by fully cleaning bead contact points.
Use a high-pressure, high-volume pump (like those from our electric air pumps collection ) to seat the bead.
Add compatible sealant if desired. If you're dealing with tubeless systems, check out our guide on how to inflate tubeless bike tires for best practices.
Listen for bead “snap” sounds confirming proper seating.
Use a dynamic balancer to install wheel weights.
An unbalanced tire can lead to vibrations, uneven wear, or poor cornering.
Manually spin the wheel to check clearance from fenders and calipers.
Re-torque axle nuts to spec.
Take a short test ride at 30–50 km/h, using both throttle and brakes gently. For optimal grip on long rides, see our tire pressure tips for long-distance travel .
Use zip ties to hold the tire in place during install if the bead is stubborn.
Avoid over-flexing tire beads—they can crack or weaken.
If you're dealing with complex spoked wheels or track-use tires, professional help ensures safety.
Look for signs like worn tread, cracks, punctures, or uneven wear. If you feel vibrations or reduced grip, it's time to replace it.
It's not recommended. Mixing brands or types (e.g., sport and touring) can negatively affect handling and balance.
Yes. Even slight imbalances can cause vibrations at higher speeds, especially on sport bikes or cruisers.
Always follow the manufacturer's recommended PSI (usually listed in the manual or on the swingarm sticker).
Yes, but it helps to have a high-volume pump to seat the bead properly. Check our guide on tubeless tire inflation for best practices.
Tim Huang
Tim Huang has extensive experience in the development and optimization of electric air pumps , specializing in portable tire inflators, electric air pumps, and wireless inflation solutions . With a strong background in product development, procurement, and quality assurance , he ensures that every Woowind product meets high performance and reliability standards. Connect with Tim on LinkedIn: Tim Huang


